

操作系统:Centos7.4
数据库:Mariadb5.5
php版本:php-fpm
搭建Nginx服务
准备工作
1、关闭防火墙及selinux
[root@Nginx ~]# systemctl disable firewall

[root@Nginx ~]# systemctl stop firewall

[root@Nginx ~]#sed -i 's/SELINUX=enforcing/SELINUX=disabled/g' /etc/selinux/config
2、安装开发组件(yum源安装)
[root@Mariadb ~]# yum grouplist
        Loaded plugins: fastestmirror
        Available Environment Groups:
           Minimal Install
           Compute Node
           Infrastructure Server
           File and Print Server
           Basic Web Server
           Virtualization Host
           Server with GUI
           GNOME Desktop
           KDE Plasma Workspaces
           Development and Creative Workstation
        Available Groups:
           Compatibility Libraries
           Console Internet Tools
           Development Tools
           Graphical Administration Tools
           Legacy UNIX Compatibility
           Scientific Support
           Security Tools
           Smart Card Support
           System Administration Tools
           System Management
        Done

[root@Nginx ~]#yum groupinstall -y 'Development tools'
3、下载Nginx安装包
这里是Nginx官方下载页面download_links,本次安装Nginx1.8稳定版
[root@Nginx ~]#tar -zxvf nginx-1.8.1.tar.gz
4、编译安装 编译之前需要安装一些依赖包,否则编译过程会报错:
[root@Nginx nginx-1.8.1]# yum install -y gd pcre-devel openssl-devel zlib-devel
[root@Nginx nginx-1.8.1]# ./configure \
    --prefix=/usr/local/nginx1.8 \
    --conf-path=/etc/nginx.conf \
    --error-log-path=/var/log/nginx/nginx.log \
    --pid-path=/var/run/nginx.pid \
    --user=nginx \
    --group=nginx \
    --with-http_ssl_module \
    --with-http_image_filter_module \
    --with-http_gzip_static_module \
    --with-http_auth_request_module
配置环境变量,并加载配置文件启动服务
[root@Nginx nginx-1.8.1]#export PATH=/usr/local/nginx1.8/sbin:$PATH
[root@Nginx ~]# nginx -c /etc/nginx.conf    /*指定加载配置文件,否则会报错
[root@Nginx ~]# nginx -t
nginx: the configuration file /etc/nginx.conf syntax is ok
nginx: configuration file /etc/nginx.conf test is successful
[root@Nginx ~]#nginx -s reopen
5、访问测试页
http://SERVERIP/index.html
安装PHP-FPM服务
因为Nginx本身直接仅支持FastCGI,所以,相应的php调用需要php-fpm
1、安装php-fpm(配置本地yum源安装)
[root@Nginx nginx-1.8.1]#yum install php-fpm
[root@Nginx nginx-1.8.1]#systemctl start php-fpm.service
本次实验将php-fpm与Nginx安装在同一台服务器上,故需要修改配置;
2、下面我们进行测试配置
配置nginx支持FastCGI(参照以下内容),将.php模块的#号去掉
[root@Nginx ~]#vi /etc/nginx.conf
     server {
        listen       80;
        server_name  localhost;

        location / {
            root   html;
            index  index.php index.html index.htm;      /*添加index.php
        }
        location ~ \.php$ {
        root           html;
        fastcgi_pass   127.0.0.1:9000;
        fastcgi_index  index.php;
        fastcgi_param  SCRIPT_FILENAME  /usr/local/nginx1.8/html/$fastcgi_script_name;
        include        fastcgi_params;
        }
        location /favicon.ico {
         root html;
        }
    }
其中fastcgi_param为php文件所在的绝对路径
在html路径下新建一个index.php测试页内容如下:
[root@Nginx ~]#cd /usr/local/nginx1.8/html
[root@localhost html]#vi index.php
        <?php
            phpinfo();
        ?>
[root@Nginx ~]#systemctl restart php-fpm
[root@Nginx ~]#nginx -s reload
3、打开php测试页,便可看到phpinfo()测试页
http://$SERVERIP/index.php
安装Mariadb数据库
[本次安装仅适用yum源安装]Mariadb官方的安装已经给的很全了,已经有针对systemd的编译的完整包,可直接下载使用
[root@Nginx ~]#yum install mariadb-server
[root@Nginx ~]#systemctl start mariadb.service
[root@Nginx ~]#mysql -uroot
MariaDB [(none)]> use mysql
Reading table information for completion of table and column names
You can turn off this feature to get a quicker startup with -A

Database changed
MariaDB [mysql]> alter user set password=password('xxxxx') where User='root';  /*设置root密码
MariaDB [mysql]> flush privileges;
MariaDB [mysql]> grant all privileges on mysql.* to 'root'@'%';         /*root用户赋权,可以从任意主机远程访问数据库,当数据库与web服务器不在同一台主机时有效
MariaDB [mysql]> flush privileges;
更改root密码也可以使用命令mysqladmin实现
[root@Nginx ~]#mysqladmin -u root -p password xxxxxxx
测试php是否可以访问数据库
[root@Nginx ~]#vim /usr/local/nginx1.8/html/index.php
    <?php
        $link=mysql_connect('localhost','root','xxxxxx');
        if ($link)
            echo 'mysql is running!';
        else
            echo 'mysql isn't connected!';
    ?>
[root@Nginx ~]#nginx -s reload
浏览器打开 http://$SERVERIP/index.php
部署wordpress
1、Wordpress官方下载最新版本linux安装包WordPress4.8
    [root@Nginx ~]#tar -zxvf wordpress4.8.2.tar.gz
    [root@Nginx ~]#mv wordpress4.8.2/* /usr/local/nginx1.8/html/
    [root@Nginx ~]#cd /usr/local/nginx1.8/html/
    [root@Nginx html]#cp wp-config-sample.php wp-config.php
    [root@Nginx html]#vi wp-config.php
        // ** MySQL 设置 - 具体信息来自您正在使用的主机 ** //
        /** WordPress数据库的名称 */
        define('DB_NAME', 'mysql');

        /** MySQL数据库用户名 */
        define('DB_USER', 'root');

        /** MySQL数据库密码 */
        define('DB_PASSWORD', '$MYSQLPASSWORD');

        /** MySQL主机 */
        define('DB_HOST', '$DATABASEIP');

        /** 创建数据表时默认的文字编码 */
        define('DB_CHARSET', 'utf8');

        /** 数据库整理类型。如不确定请勿更改 */
        define('DB_COLLATE', '');
        ……
        ……
        ……
        /* 如果没有ftp服务器的话,需要在配置文件添加如下代码,以保证安装主题时会提示先登陆ftp服务器
        define('WP_TEMP_DIR', ABSPATH.'wp-content/tmp');
        define("FS_METHOD", "direct");
        define("FS_CHMOD_DIR", 0777);
        define("FS_CHMOD_FILE", 0777);
2、修改/etc/nginx.conf配置文件,以至于能正确解析wordpress的php文件
[root@Nginx ~]#vi /etc/nginx/
    location ~ \.php$ {
            root           /usr/local/nginx1.8/html/wordpress;          /*wordpress的目录,如果是html根目录,则默认即可
            fastcgi_pass   127.0.0.1:9000;          /*本地php-fpm监听地址
            fastcgi_index  index.php;
            fastcgi_param  SCRIPT_FILENAME  /usr/local/nginx1.8/html/wordpress$fastcgi_script_name;
           include        fastcgi_params;
        }
        ……
        ……
    location \favicon.ico {
            root html;          /*防止nginx找不到favicon.ico文件而打开页面失败
    }
[root@Nginx ~]#nginx -t
[root@Nginx ~]#nginx -s reload

现在,找个浏览器就可以浏览wordpress,简单的安装即可开始个性的博客之旅。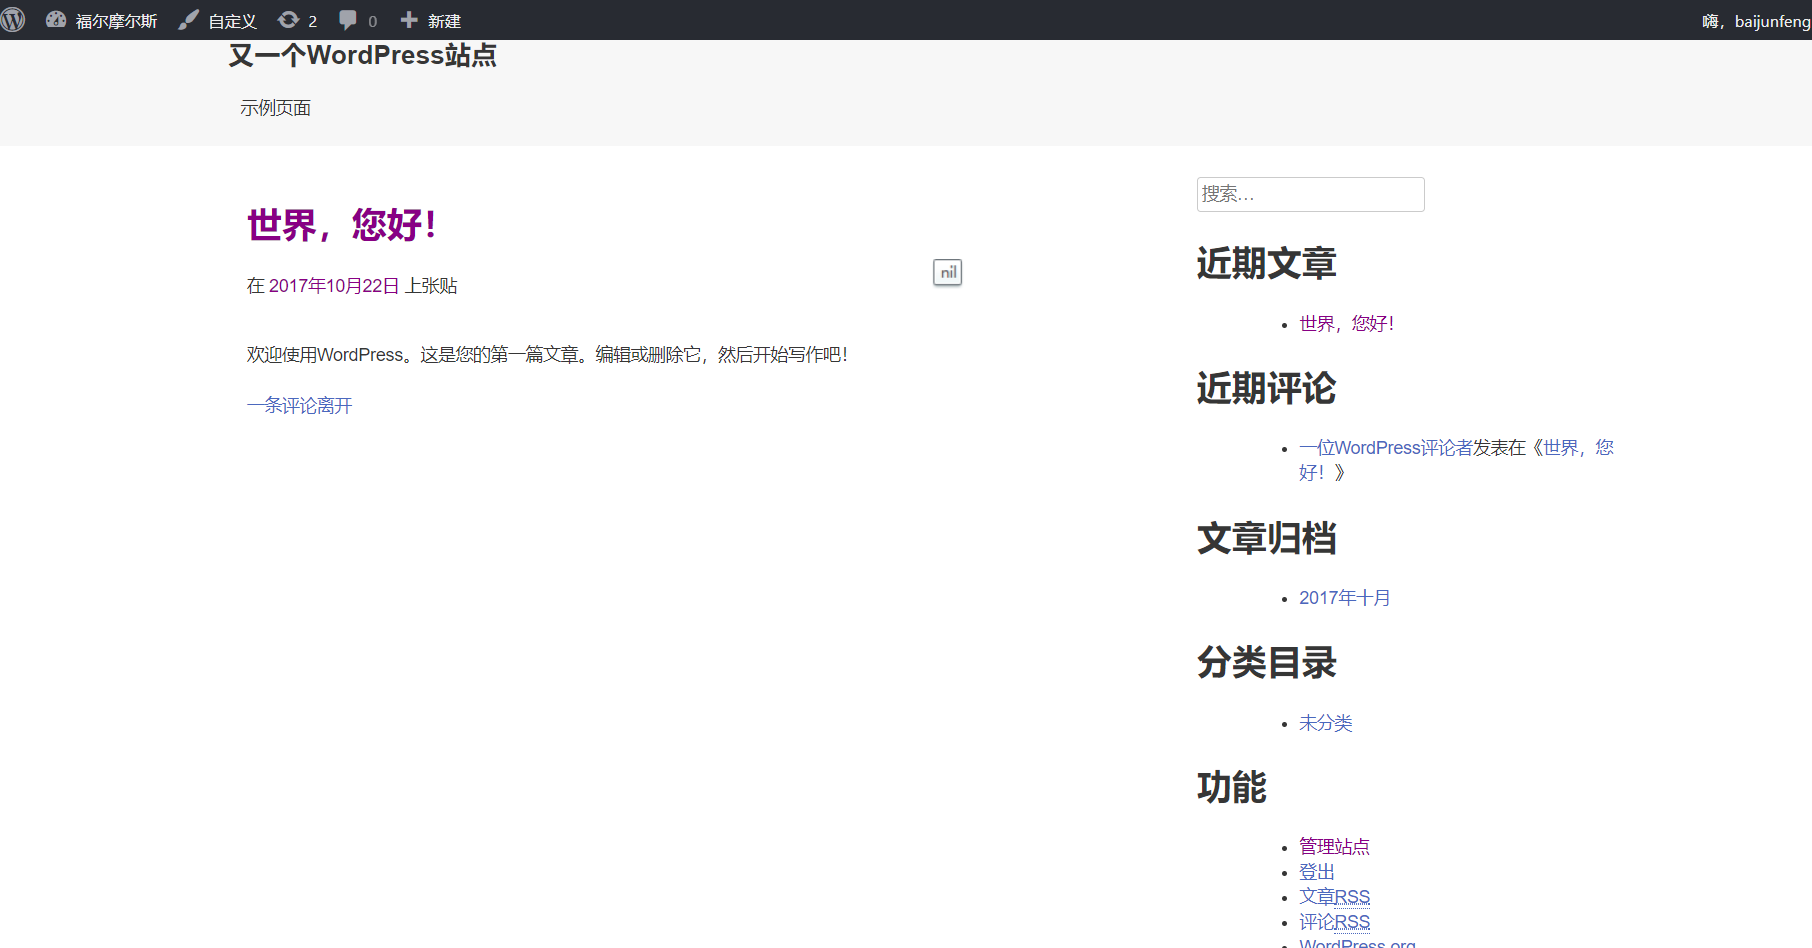
本文来自投稿,不代表Linux运维部落立场,如若转载,请注明出处:http://www.178linux.com/88183
